March 22, 2008 - The Big Move

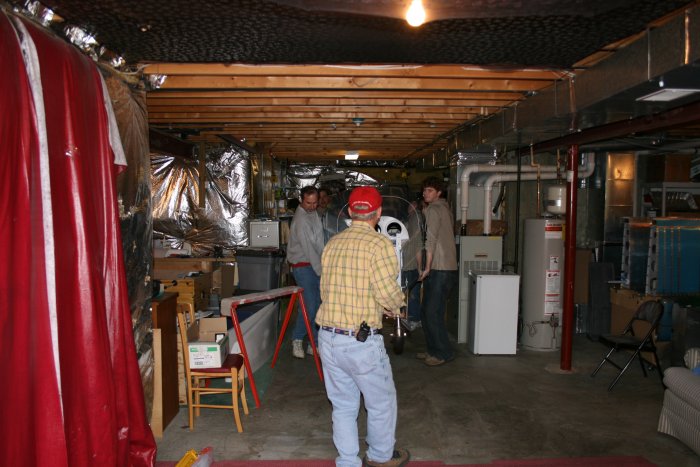
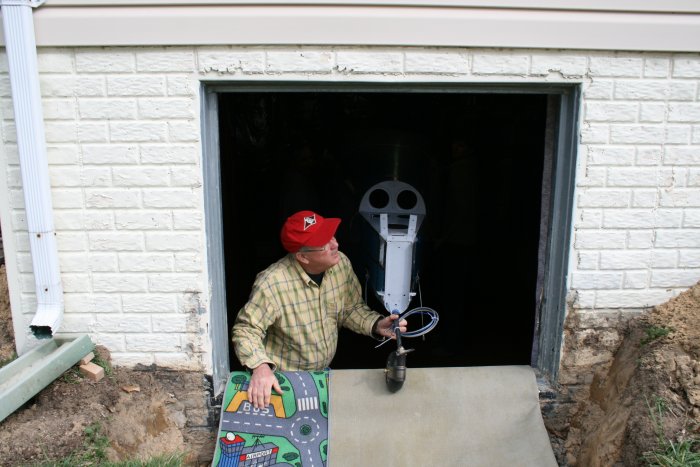
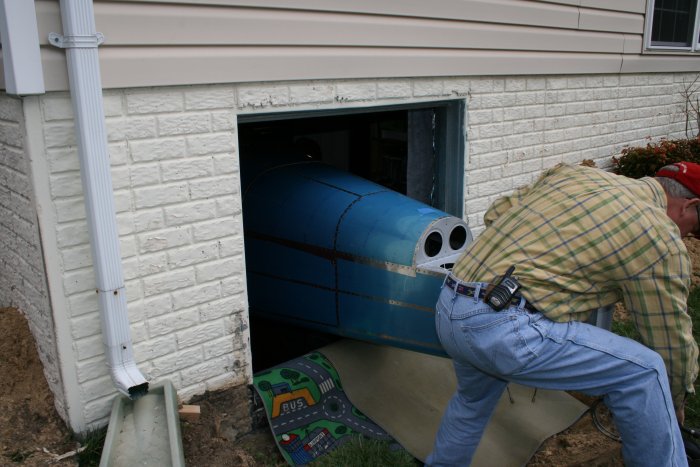
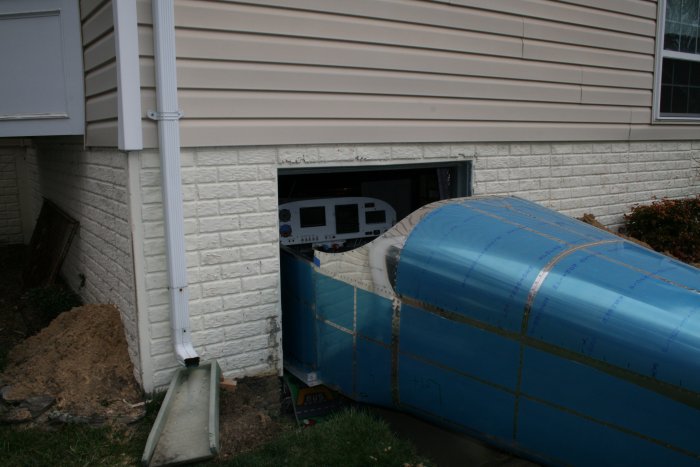
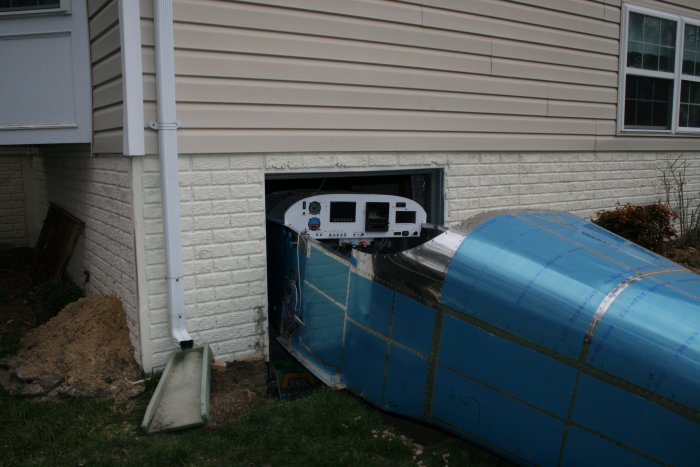
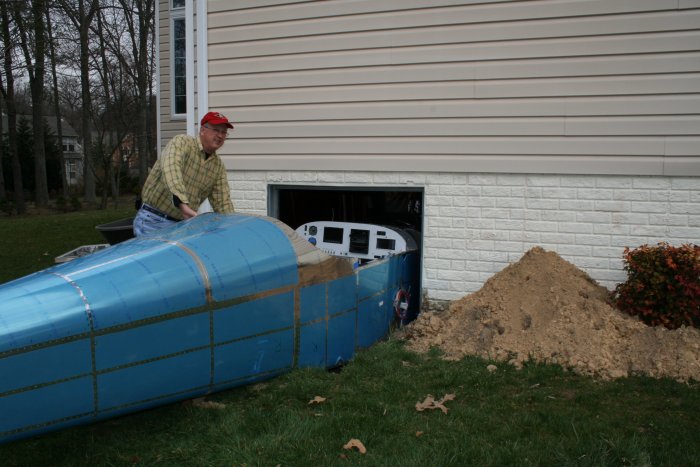
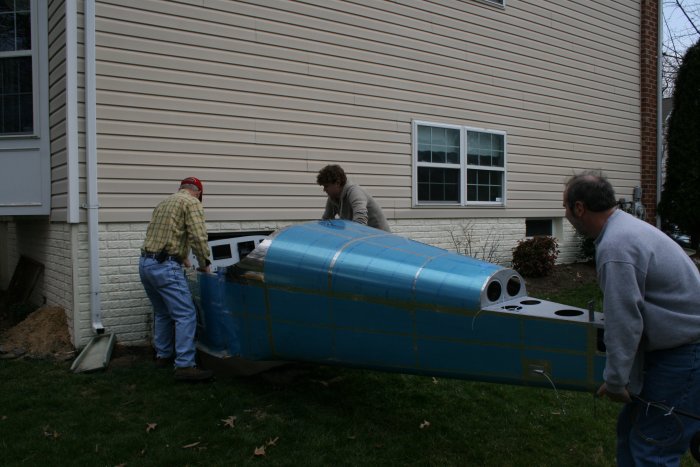
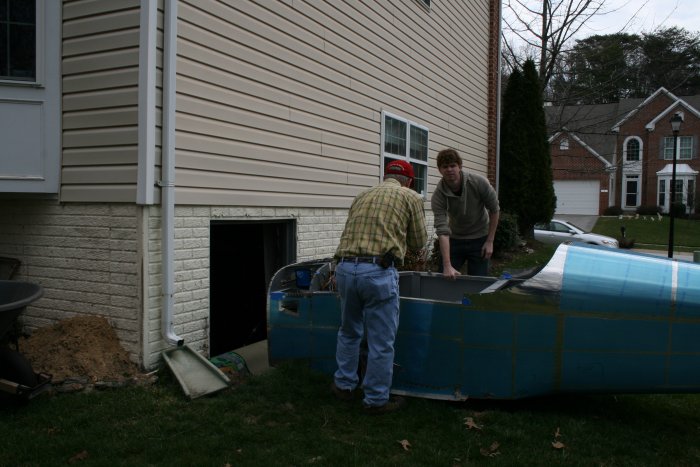
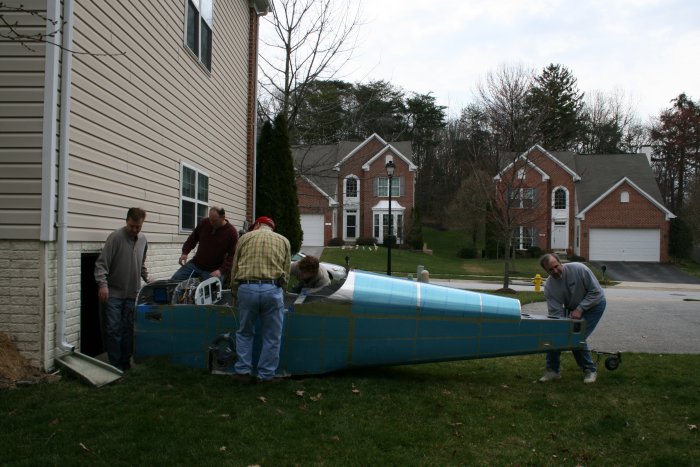
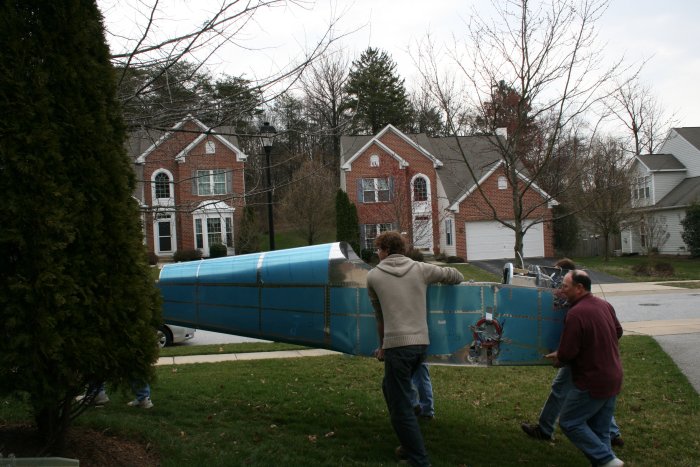
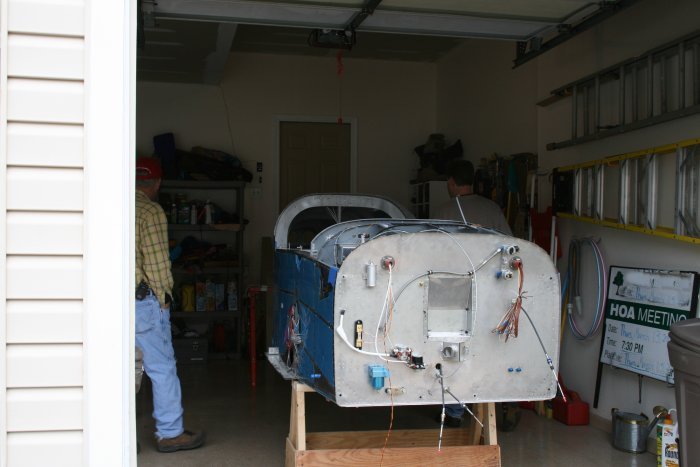
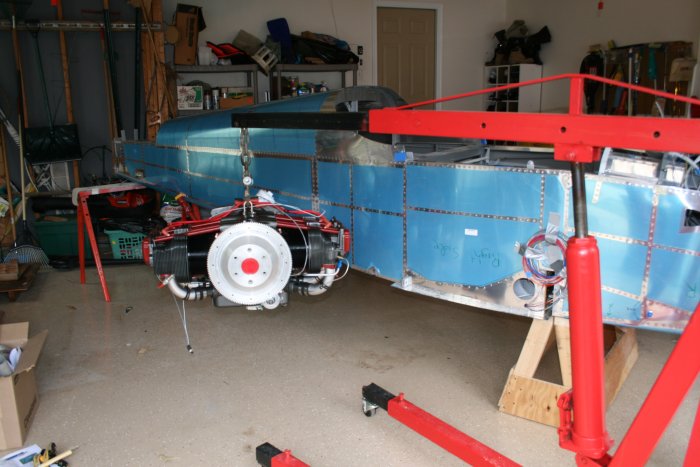
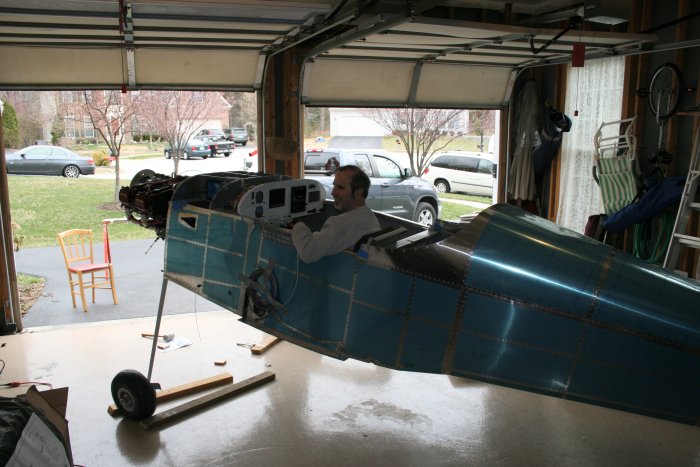
Today's the day.  The fuse leaves the basement for the garage.

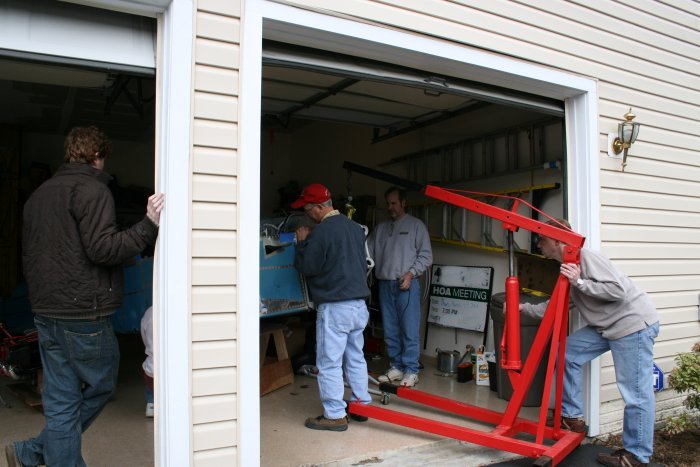
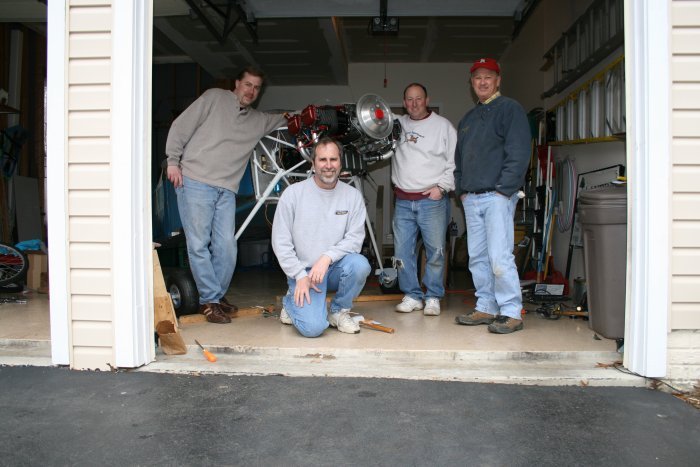
A bunch of people came over to help me:  my son Joe, brother-in-law Bruce, JoeM from work and RV-7A builder & flyer Mike R.   The five of us picked the fuse up while Lynnette took pictures and Maggie moved the fuse stand.

 
Bruce was on the tail. 
 
And here it comes. 
 
There was 3/4" to spare on each side of the center bottom skin.


And then it was out.   Carrying it around the house to the garage was a piece of cake. 
 
With five men. 
 
 
The fuse is in the garage. 
 
The next step was to screw the battery box back on the firewall.  Then bolt on the engine mount. 
 
Next item on the agenda was to attach the gear legs.  At first we tried it by just lifting the fuse.  But, of course, the gear legs didn't "just slide in".  We decided to use the engine hoist to lift the fuse while we worked on the gear legs. 
 
 
After a lot of trial and error, we finally got the gear legs properly seated in the engine mount.  A single bolt slides through the engine mount and gear leg to keep it in there.  The secret was removing some of the powder coating on the gear legs so that it would slide into the engine mount. 
 
Now for the first time, the RV sits on its gear. 
 

Lynnette had made us a great lunch -- pit beef sandwich, deviled eggs, brownies -- so we took a well deserved break.

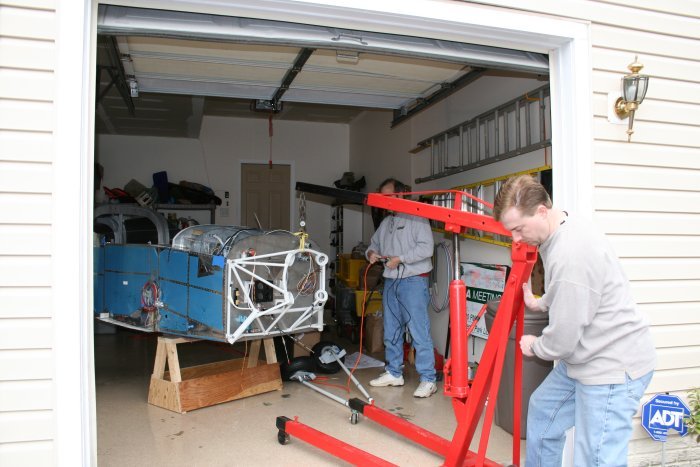
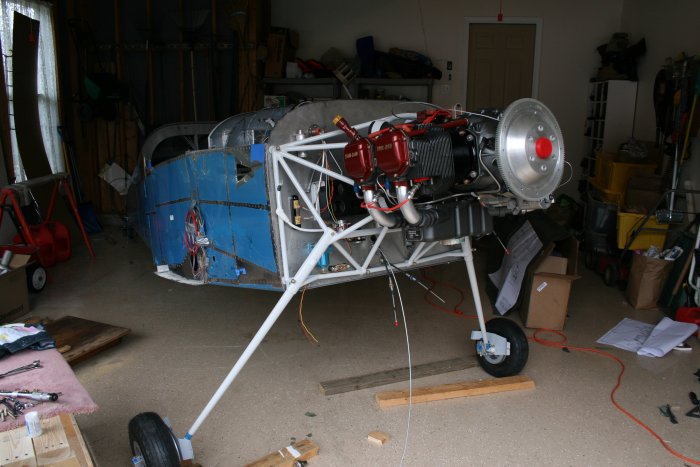
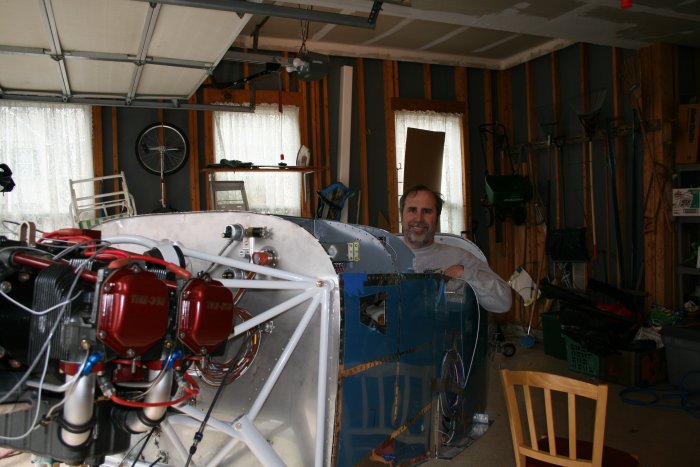
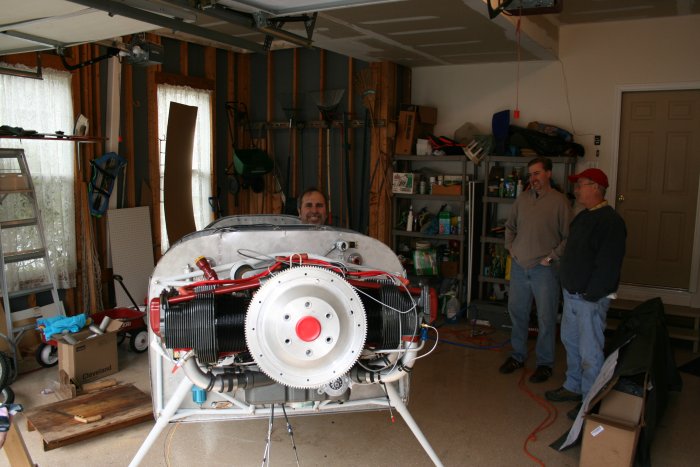
Then, back to the garage for the finale:  mounting the engine.   


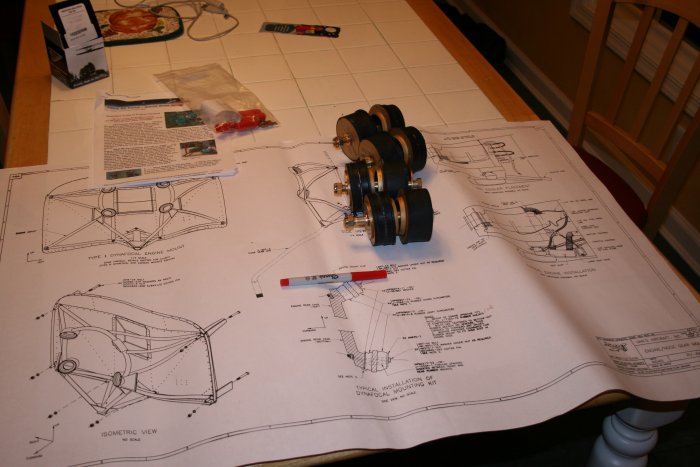
Last night I had reviewed my "Illustrated Guide to Engine Mounting" instructions.  I downloaded them off Vans Air Force here

I got out my engine bolts, rubber "biscuits" and Van's drawings.  The bottom bolts are slightly longer than the top bolts, and the top rubber biscuits go in the opposite direction of the bottom.  Easy to make a mistake.  So I labeled the rubber biscuits and washers and put the four assemblies together.  All ready to go. 


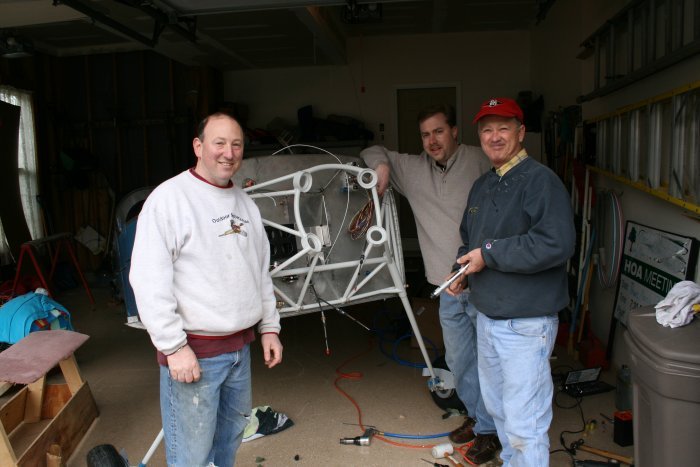
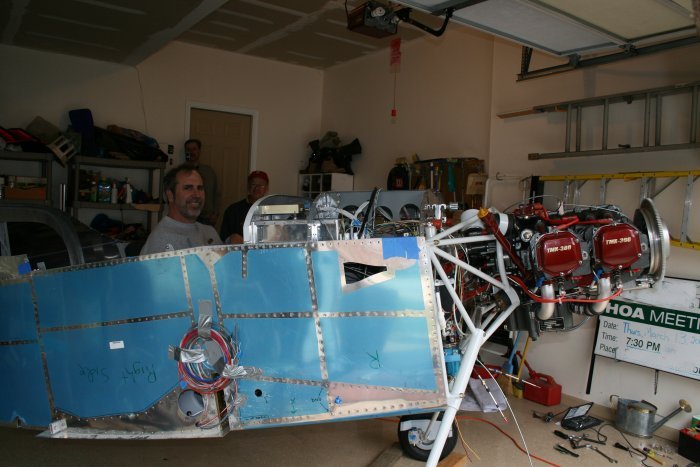
An hour or two later -- it's done!  We did it per the Illustrated Guide:  top right, top left, bottom right and bottom left.   The first was relatively easy, then it got progressively harder.  The last one took awhile to figure out but we finally got it.  I highly recommend the Illustrated Guide. 

 
 The engine hoist was indispensible, of course.  The other indispensible thing was this little 5/8" wrench that Mike R. brought.  I used it on the engine mount castle nuts.  He ground off each side so it fits right in the socket over the castle nut without scratching the brand new engine. 
  
The happy crew. 
 
A little RV grin preview. 
 
Yeah, it's starting to look like a real airplane.
 
It took me four years to get to this point. 
 
Hard to believe it started from a bunch of aluminum angle, sheets and preformed bulkheads. 
 
The team enjoyed a ceremonial round of beer, then I had to put the window area back together.  I had to shovel three wheelbarrow loads of rock.  I felt like Cool Hand Luke !
 

 There's a lot of rock in that thing. 

Boss Paul: That ditch is Boss Kean's ditch. And I told him that dirt in it's your dirt. What's your dirt doin' in his ditch?
Luke: I don't know, Boss.
Boss Paul: You better get in there and get it out, boy.
 
It's been a long time since the basement was this empty. 
 
 
Previous
Home
Next